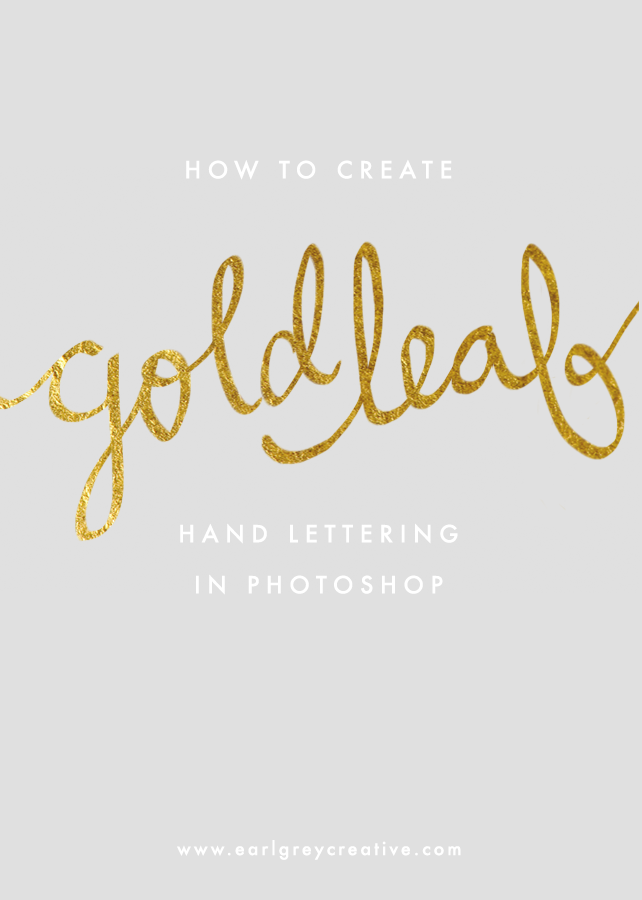
Have you ever wanted to know how bloggers and designers write in what looks like pure gold ink? Me too. I’m one paycheck away from enrolling in an online calligraphy class just so that I can learn to write using pretty gold ink. Until then, I’m going to find ways to fake it. Here is how I added a gold leaf texture to my handwriting in Photoshop using my Wacom Bamboo Tablet. If you don’t have a tablet, you can still add gold text to an image or background using any font you’d like.
1. First, open two documents in Photoshop. You’ll need a background image and a gold leaf texture. I used a solid mint colored background, and I found the gold leaf texture here. Next, select and copy the background image and paste it onto the gold leaf texture.
Select the Pen Tool from your toolbar and change the mode to “Clear”. Make sure the top layer (not the gold texture) is selected in your Layers Panel. Then use your tablet to write something fun! If your handwriting looks shaky, try zooming in a bunch (300-400%) and then writing. It’s also fun to experiment with different brush sizes and styles.
If you don’t have a tablet, you can just use plain text! For this, you will want to set up your layers the same exact way we did above. Then select the Horizontal Type Mask Tool. This will automatically turn your text into a selection.
After you’ve got your type mask (seen below), select the Magic Eraser Tool and uncheck “Contiguous”. Then click the Magic Eraser over the selection, and the text should disappear. If you’re using an image as your background, you may need to erase the selection using the normal Eraser Tool or the Pen Tool (under “clear” mode).
To add gold leaf text in the form of a font, you can also follow this tutorial I wrote on combining photos and text.
Here’s an example of how fun it is to add gold handwriting and doodles to a photograph. You can use the method I first described, just make sure the layers are all stacked correctly.
Let me know if you end up trying this! :)


Amber says
What an awesome tutorial! I’ve been going back and forth between saving up and splurging on a Wacom Tablet. So many fun possibilities!
Irith Mashiah says
WOW! I will mark this post. Perhaps it will help me with my promotions.
Jessica says
Hi Jenn!
I am so glad you stumbled upon my blog and left a comment! Your blog is ridiculously beautiful and I am getting so much inspiration looking through your archives. I am seriously struck by your aesthetic.
Also envious of your Jenny story.
I started following you on Instagram so I can make sure to stay in further touch!
Jennifer | Earl Grey Blog says
Thanks so much Jessica!! I really appreciate that. So happy to be blog buddies now! :)
Yuni says
Thank you for this wonderful tips! This is so easy!
Steph says
Oh my goodness I’ve been looking for tutorials on how to do this for weeks!
Thank you so much!
http://www.iolablog.com/
Jennifer | Earl Grey Blog says
You’re so welcome! So happy you came across this post. :)
Hanh says
Thank you so much for this! I’ve been wanted to add gold foil to my save the date cards and Im going to try this!
Jennifer | Earl Grey Blog says
Oh yay! Glad I could help. Gold foil is going to look so pretty on your Save the Date cards! :)
Claire says
Thank you so much for this it is beautiful! What is the font you are using for the gold? I love it!
Jennifer | Earl Grey Blog says
Hey Claire! The cursivey writing is my handwriting and the typed writing is Futura. :)
Pauline Hiddleston says
Hi! this is amazing!! however, may I know what font you used to write the word “write” here? Would love to know! Thanks!X
Jennifer | Earl Grey Blog says
Hi Pauline! Glad you enjoyed the tutorial. I just used my handwriting with a Wacom Tablet for the word “write”. :)
Nada says
THIS POST IS GOING TO CHANGE EVERYTHING FOR ME! THANK YOU!
http://www.styledenada.com