• Skip to main content
Jennifer Andrew

Jennifer Andrew

scalloped circle buttonemail me!

photoshop

How to Edit Photos with RadLab + a Discount Code!

08/20/2014 by Jennifer 2 Comments

Today I want to share a little piece of magic with you. It’s called RadLab. You have probably noticed that there are thousands of Photoshop plugins, actions, and presets available to purchase and download. Out of all the photo-editing methods I’ve tried, I have found this Photoshop plugin by Totally Rad to be the most fantastic one. I have been using RadLab consistently for the past two years and it has made my photo editing process all the more fun and exciting.

How to Edit Photos with RadLab | Earl Grey Blog

RadLab isn’t an “action”, it’s a Photoshop filter plugin. It is advertised as being simpler, quicker, and more customizable than actions. I couldn’t agree with that more. Here’s a basic rundown of how it works:

After you’ve downloaded RadLab (take advantage of the free trial!), open up a photo in Photoshop. This plugin works just fine with Photoshop Elements, too.

How to Edit Photos with RadLab | Earl Grey Blog

In your main menu, select Filter > Totally Rad > RadLab. You’ll see that RadLab is full of “stylets” which can be controlled and customized to produce different effects. Together, the stylets you choose will make up a “recipe”, which can be saved and used in the future.

How to Edit Photos with RadLab | Earl Grey Blog

When I edit my photos with RadLab, I almost always use the “Lights On”, “Oh Snap!”, and “Claire-ify” tools at varying levels. If I’m feeling adventurous, I will experiment with different filters. Looking at the filters in the screenshot above, you might think some of them are too intense for natural-looking photographs. The beauty of RadLab is that you have complete control over the intensity of each filter. While editing this photo of Sara, I thought I would stop after my usual routine, but I ended up finding that a couple of the bolder filters (at low levels) made the photo look a little more whimsical and summery. Below, you can see a split before/after comparison of the photo. “Butter Pecan” and “Fuzzy Navel” did nice work! Oh and did I mention that all of the stylets have really awesome names? They do. :)

How to Edit Photos with RadLab | Earl Grey Blog

How to Edit Photos with RadLab | Earl Grey Blog

Being able to save combined stylets as recipes provides helpful consistency when I’m editing a handful of photos from the same location. It also just makes the photo-editing experience more unique! No one is going to say, “Oh hey, I see you used the ‘_______’ filter.” You can make one of a kind recipes, save them, share them, and use them again.

How to Edit Photos with RadLab | Earl Grey Blog

Do you use RadLab, or any other Totally Rad products? I love that they offer such a range of photo editing resources. Maybe I’ll share my specific recipes from time to time!

ps. Totally Rad is offering Earl Grey readers 15% off of any purchase for the next two weeks (until September 3rd). Use the code “HARDWICK” to apply the coupon. :)

Filed Under: photography, photoshop, resources, tutorials

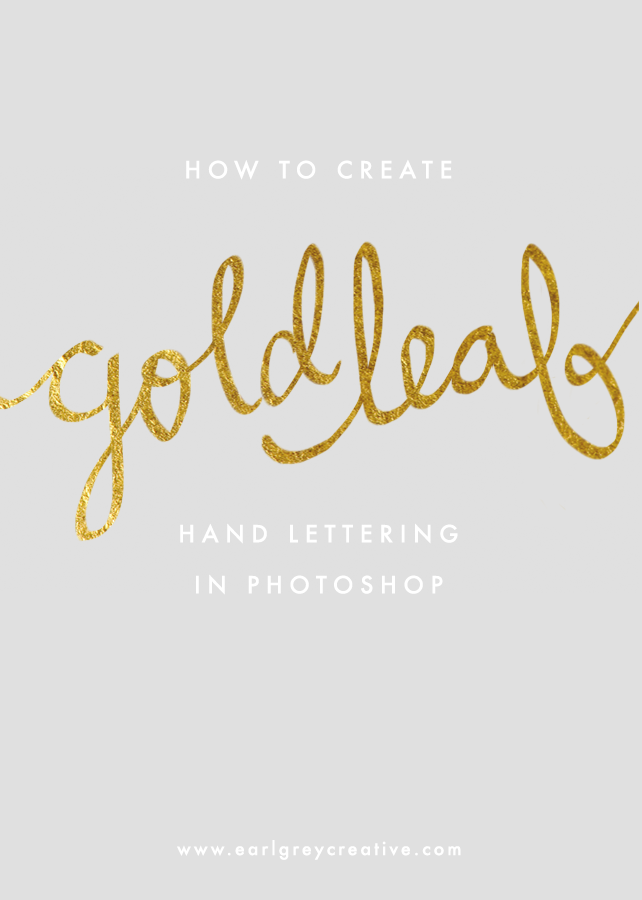
Create Gold Leaf Hand Lettering in Photoshop

08/02/2014 by Jennifer 14 Comments

Have you ever wanted to know how bloggers and designers write in what looks like pure gold ink? Me too. I’m one paycheck away from enrolling in an online calligraphy class just so that I can learn to write using pretty gold ink. Until then, I’m going to find ways to fake it. Here is how I added a gold leaf texture to my handwriting in Photoshop using my Wacom Bamboo Tablet. If you don’t have a tablet, you can still add gold text to an image or background using any font you’d like.

Gold Leaf Hand Lettering with Photoshop

1. First, open two documents in Photoshop. You’ll need a background image and a gold leaf texture. I used a solid mint colored background, and I found the gold leaf texture here. Next, select and copy the background image and paste it onto the gold leaf texture.

Gold Leaf Hand Lettering with Photoshop

Select the Pen Tool from your toolbar and change the mode to “Clear”. Make sure the top layer (not the gold texture) is selected in your Layers Panel. Then use your tablet to write something fun! If your handwriting looks shaky, try zooming in a bunch (300-400%) and then writing. It’s also fun to experiment with different brush sizes and styles.

Gold Leaf Hand Lettering with Photoshop

If you don’t have a tablet, you can just use plain text! For this, you will want to set up your layers the same exact way we did above. Then select the Horizontal Type Mask Tool. This will automatically turn your text into a selection.

gold-lettering-type_01Gold Leaf Hand Lettering with Photoshop

After you’ve got your type mask (seen below), select the Magic Eraser Tool and uncheck “Contiguous”. Then click the Magic Eraser over the selection, and the text should disappear. If you’re using an image as your background, you may need to erase the selection using the normal Eraser Tool or the Pen Tool (under “clear” mode).

Gold Leaf Hand Lettering with Photoshop Gold Leaf Hand Lettering with Photoshop

To add gold leaf text in the form of a font, you can also follow this tutorial I wrote on combining photos and text.

Here’s an example of how fun it is to add gold handwriting and doodles to a photograph. You can use the method I first described, just make sure the layers are all stacked correctly.

gold-lettering-photo

Let me know if you end up trying this! :)

Filed Under: design, photoshop, tutorials

get in touch